
Cuisinart Ice Cream Maker Instruction Book: A Comprehensive Guide
Welcome! This guide provides essential instructions for your Cuisinart ice cream maker, covering operation, recipes, maintenance, and troubleshooting for delightful frozen treats.
Understanding Your Cuisinart Ice Cream Maker
Congratulations on choosing a Cuisinart ice cream maker! This appliance allows you to create delicious frozen desserts – ice cream, frozen yogurt, and sorbet – right in your own kitchen. The Cuisinart Automatic Frozen Yogurt, Ice Cream & Sorbet Maker boasts a powerful motor and a double-insulated freezer bowl, ensuring efficient freezing and consistent results.
Understanding the machine’s features is key to successful operation. A crucial safety feature automatically stops the unit if the motor overheats, preventing damage. The machine is designed for recipes yielding 2 quarts or less, and the freezer bowl should not be filled beyond the 12-mark to prevent overflow during the mixing process. Familiarizing yourself with these aspects will enhance your ice cream-making experience and ensure years of enjoyment.
Model Identification & Key Features
Identifying your Cuisinart model is the first step. Common models include the ICE-30BCU 2L ice cream maker. Key features across most Cuisinart ice cream makers include a fully automatic operation, simplifying the freezing process. The double-insulated freezer bowl requires pre-freezing for optimal performance – typically around 24 hours.
The motor is designed for consistent mixing, creating smooth and creamy textures. A notable safety feature is the automatic shut-off, protecting the motor from overheating during extended use. These machines are versatile, capable of handling ice cream, frozen yogurt, and sorbet recipes. Refer to your specific model’s documentation for detailed specifications and capacity information. Understanding these features will maximize your ice cream-making potential.
Safety Precautions
Prioritize safety when operating your Cuisinart ice cream maker. Always unplug the unit before cleaning or when not in use. Never immerse the motor or power cord in water or other liquids. Ensure the freezer bowl is thoroughly frozen before assembly to prevent damage.
Do not operate the appliance if the power cord or plug is damaged. Avoid overfilling the freezer bowl – a maximum fill line is usually indicated, typically not exceeding 12 quarts. Be cautious of moving parts during operation. The automatic shut-off feature activates if the motor overheats; allow it to cool completely before restarting. Supervise children when the appliance is in use. Following these precautions ensures safe and enjoyable ice cream creation.
Parts List & Diagram
Your Cuisinart ice cream maker includes several key components. These typically consist of a motor base, a double-insulated freezer bowl (designed for pre-freezing), a mixing paddle, and a transparent lid with a feed tube for adding mix-ins. Some models may also include a recipe book and measuring tools.
Refer to the diagram included with your specific model for precise identification of each part. The freezer bowl is crucial; ensure it’s completely frozen – usually after 24 hours – before each use. The mixing paddle connects to the motor shaft and is responsible for churning the mixture. The lid securely covers the bowl during operation. Familiarize yourself with each component’s function for proper assembly and operation, maximizing your ice cream-making experience.
Getting Started: Preparation is Key
Success begins with preparation! Thoroughly freeze the bowl, carefully consider your recipe, and properly mix the base for optimal results and enjoyment.
Freezing the Bowl: Essential Steps
Achieving the perfect ice cream texture relies heavily on a completely frozen bowl. Ensure the freezer bowl is thoroughly chilled for at least 16-24 hours before initial use, and after each subsequent use. This extended freezing period is crucial for optimal performance.
Before freezing, confirm the bowl is clean and dry. Place it in the coldest part of your freezer, avoiding areas near the defrost vent. A consistently low temperature is vital. To verify complete freezing, shake the bowl; if you hear any liquid sloshing, it requires additional freezing time.
Important Note: Do not place the bowl in the dishwasher, as this can compromise its freezing capabilities. Handle with care to prevent damage. A properly frozen bowl is the foundation for creamy, delicious homemade ice cream, sorbet, or frozen yogurt!
Recipe Considerations: Volume & Ingredients
Successful ice cream making begins with the right recipe. Cuisinart ice cream makers work best with recipes yielding 2 quarts or less. Exceeding this volume can strain the motor and result in inconsistent freezing. Carefully measure all ingredients for balanced flavor and texture.
Ingredient quality matters! Use fresh, high-quality ingredients for the best results; Dairy-based recipes benefit from a high fat content for creaminess; Sugar not only sweetens but also lowers the freezing point, influencing texture.
Avoid recipes with large solid pieces, as they can be difficult for the machine to process; Pre-chop any fruits or chocolate into small, manageable pieces. Experiment with flavors, but always adhere to recommended liquid-to-solid ratios for optimal performance and a delightful frozen dessert.
Mixing the Ice Cream Base
Properly preparing the ice cream base is crucial. Combine all ingredients in a saucepan and heat gently, stirring constantly, until the sugar is fully dissolved. Avoid boiling, as this can alter the texture. For custard-based recipes, temper the eggs carefully to prevent curdling – slowly whisk a small amount of the hot mixture into the eggs before adding them to the saucepan.
Cool the base thoroughly before churning. This is essential for achieving a smooth, creamy consistency. A warm base will melt the frozen bowl too quickly, hindering the freezing process. Chill for at least two hours, or preferably overnight, to allow flavors to meld and the base to fully cool.
Strain the mixture through a fine-mesh sieve to remove any lumps or solids, ensuring a perfectly smooth final product.
Operating Your Cuisinart Ice Cream Maker
Let’s begin! Assemble the unit, pour in your chilled base, and power on for 15-20 minutes, achieving perfectly thickened, delicious frozen desserts.
Assembly Instructions
Preparing for Operation: Begin by ensuring the freezer bowl is thoroughly frozen – a crucial step for optimal results. Next, place the dasher assembly into the bowl. The dasher, with its paddle, is responsible for mixing and incorporating air during the freezing process.
Carefully position the assembled bowl and dasher onto the base unit, aligning the dasher shaft with the motor shaft. A secure connection is vital; ensure it clicks or locks into place as indicated in your model’s specific diagrams.
Once properly aligned, the unit is ready for the ice cream mixture. Do not overfill the bowl – a maximum fill line is usually marked, typically not exceeding halfway to allow for expansion during freezing. Finally, attach the lid, ensuring it’s securely fastened to prevent splashing during operation.
Always double-check all connections before powering on the machine.
The Mixing Process: Step-by-Step
Initiating the Freeze: With the lid securely in place, plug in your Cuisinart ice cream maker. Turn the unit on; the dasher will begin to rotate within the frozen bowl. Slowly pour the ice cream mixture into the bowl through the ingredient spout, if equipped, while the machine is running.
Allow the mixture to churn for approximately 15 to 25 minutes, depending on your recipe and desired consistency. Observe the mixture as it thickens; it will gradually transform from a liquid to a soft-serve consistency.
Avoid lifting the lid during the initial freezing stages, as this can disrupt the process. The machine will continue to mix until the ice cream reaches a suitable texture. If the motor seems to struggle, it may indicate the mixture is becoming too thick.
Mixing Time & Consistency
Optimal Churning Duration: Generally, the mixing process takes between 20 to 25 minutes. However, this timeframe can vary based on the recipe, the initial temperature of the base, and the ambient room temperature. Monitor the mixture’s transformation closely.
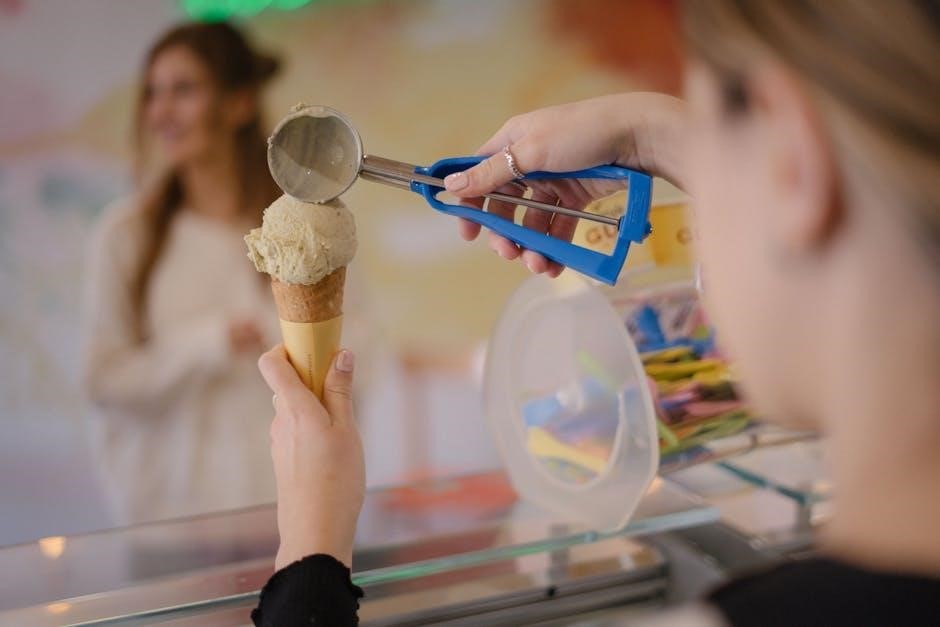
Assessing Texture: The ice cream will progress from a liquid state to a soft-serve consistency, and eventually, to a firmer, scoopable texture. A soft-serve consistency is ideal for immediate enjoyment, while further freezing will yield a harder ice cream.
Motor Feedback: Pay attention to the motor’s sound. If it begins to strain, it suggests the ice cream is nearing completion. Do not exceed 30 minutes of mixing to prevent potential motor overheating. Remember, the goal is a smooth, creamy texture, not an overly frozen block.

Recipes & Inspiration
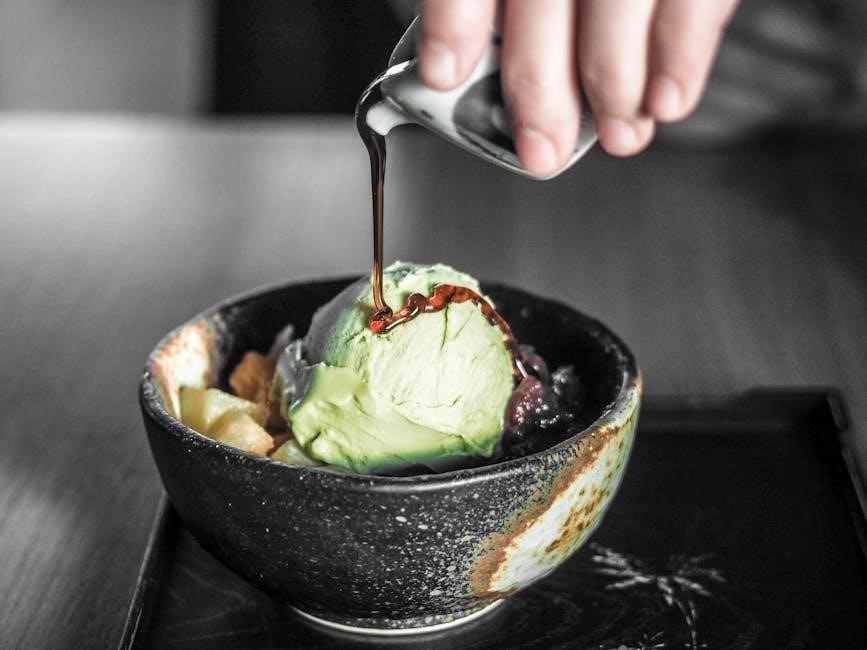
Explore delicious possibilities! From classic vanilla to exciting variations like chocolate, frozen yogurt, and refreshing sorbets, unleash your creativity with every batch.
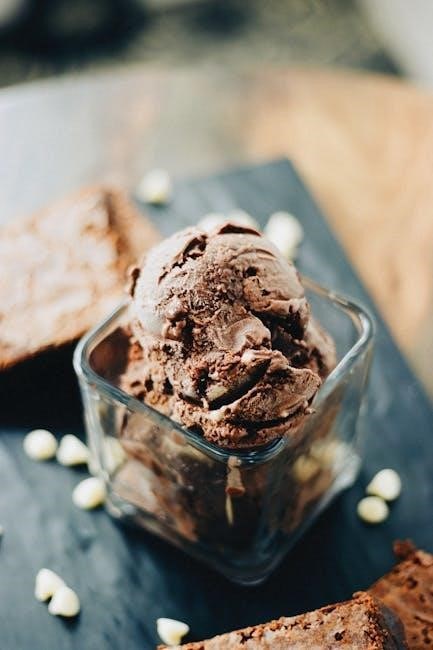
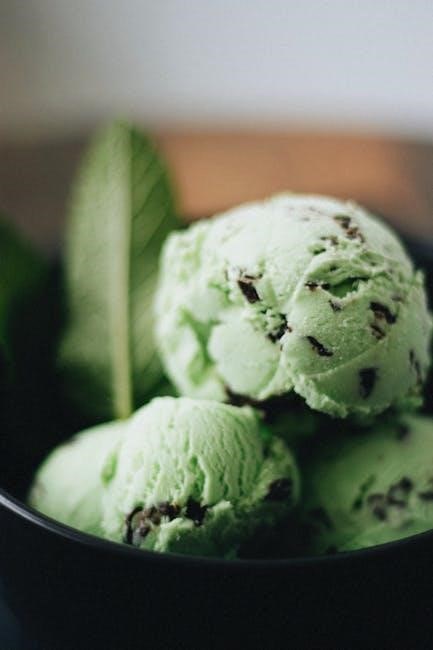
Classic Vanilla Ice Cream Recipe
Yields: Approximately 1 quart
Prep time: 20 minutes
Freeze time: 20-25 minutes in the ice cream maker
Ingredients:
- 2 cups heavy cream
- 1 cup whole milk
- ¾ cup granulated sugar
- 1 tablespoon vanilla extract
- Pinch of salt
Instructions:
- In a medium bowl, whisk together the heavy cream, whole milk, sugar, vanilla extract, and salt until the sugar is completely dissolved.
- Chill the mixture for at least 30 minutes – this ensures optimal freezing.
- Pour the chilled mixture into the frozen freezer bowl of your Cuisinart ice cream maker.
- Turn the machine on and let it mix for approximately 20-25 minutes, or until the ice cream reaches a soft-serve consistency.
- For a firmer consistency, transfer the ice cream to an airtight container and freeze for an additional 2-4 hours.
Enjoy! This classic recipe is a perfect starting point for your ice cream adventures.
Chocolate Ice Cream Variation
Yields: Approximately 1 quart
Prep time: 25 minutes
Freeze time: 20-25 minutes in the ice cream maker
- 2 cups heavy cream
- 1 cup whole milk
- ¾ cup granulated sugar
- ½ cup unsweetened cocoa powder
- 1 teaspoon vanilla extract
- Pinch of salt
- 2 ounces melted dark chocolate (optional, for richer flavor)
- In a medium saucepan, whisk together cocoa powder and sugar. Gradually whisk in milk until smooth.
- Heat over medium heat, stirring constantly, until mixture thickens slightly. Do not boil.
- Remove from heat and stir in heavy cream, vanilla extract, salt, and melted chocolate (if using).
- Chill the mixture thoroughly for at least 2 hours, or preferably overnight.
- Pour into the frozen freezer bowl and churn for 20-25 minutes.
- Freeze for additional firmness if desired.
Indulge! A decadent twist on a classic.
Frozen Yogurt & Sorbet Recipes
Expand your frozen dessert horizons! Your Cuisinart maker isn’t limited to ice cream; explore refreshing frozen yogurt and vibrant sorbets.
Frozen Yogurt Base:
Substitute milk with yogurt (Greek yogurt yields a thicker result). Adjust sugar levels to taste, as yogurt adds tanginess. Follow standard ice cream maker instructions, churning until desired consistency is reached – typically 20-25 minutes.
Simple Lemon Sorbet:
- 2 cups water
- 1 cup granulated sugar
- 1 cup lemon juice
Combine ingredients, stir until sugar dissolves. Chill thoroughly, then churn. Sorbet freezes faster than ice cream, so monitor closely.
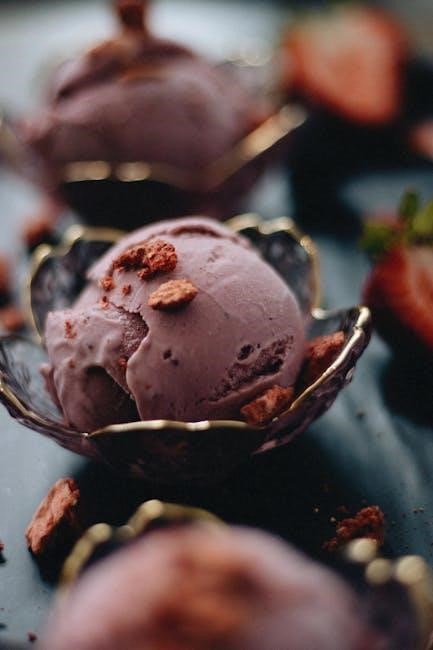
Berry Sorbet Variation:
Replace lemon juice with 2 cups of pureed berries. Strain for a smoother texture. Enjoy a light and fruity treat!
Experiment! Adapt fruit purees and juices for endless sorbet possibilities.
Maintenance & Troubleshooting
Keep your maker pristine! Proper cleaning and addressing common issues, like motor stops or overheating, ensure years of delicious homemade frozen desserts.
Cleaning Your Cuisinart Ice Cream Maker
Thorough cleaning is vital for maintaining hygiene and ensuring optimal performance of your Cuisinart ice cream maker. Always unplug the unit before commencing any cleaning procedures. The freezer bowl is typically dishwasher-safe, but hand washing with warm, soapy water is recommended to preserve its chilling properties.
The mixing paddle, lid, and other removable parts can also be washed in warm, soapy water or placed in the dishwasher. Ensure all parts are completely dry before reassembling. Never immerse the motor base in water or any other liquid; simply wipe it down with a damp cloth.
Avoid using abrasive cleaners or scouring pads, as these can damage the surfaces. For stubborn residue, a paste of baking soda and water can be gently applied. Regular cleaning after each use prevents buildup and ensures your ice cream maker remains in excellent condition for countless batches of frozen delights.
Troubleshooting Common Issues: Motor Stops
If the motor stops during operation, several factors could be the cause. First, ensure the freezer bowl is adequately frozen – a partially thawed bowl will hinder the mixing process and strain the motor. Verify the mixture isn’t too thick or contains large frozen chunks, as this can overload the machine.
The Cuisinart ice cream maker is equipped with an overheating protection feature that automatically stops the unit if the motor gets too hot. If this occurs, unplug the machine and allow it to cool down completely (around 30-60 minutes) before attempting to restart.
Also, check that the unit is properly assembled and the lid is securely locked in place. If the problem persists, consult the full instruction manual or Cuisinart’s customer support for further assistance. Avoid forcing the motor to run if it’s consistently stopping, as this could cause damage.
Overheating Protection Feature
Your Cuisinart ice cream maker incorporates a crucial safety mechanism: an overheating protection feature. This is designed to prevent damage to the motor and ensure safe operation. If the motor experiences excessive heat during the mixing process, it will automatically shut off the unit.
This typically happens when the mixture is overly thick, contains large frozen pieces, or if the freezer bowl isn’t sufficiently frozen, causing the motor to work harder. When activated, do not attempt to restart the machine immediately.
Instead, unplug the ice cream maker and allow it to cool down completely – approximately 30 to 60 minutes – before trying again. Ensure proper bowl freezing and mixture consistency to avoid recurrence. This feature is a standard safety protocol, protecting your appliance and guaranteeing long-lasting performance.
Advanced Tips & Techniques
Elevate your creations! Explore optimal texture adjustments, proper storage for homemade ice cream, and confidently adapt your favorite recipes for perfect results.
Achieving Optimal Texture
Fine-tuning your ice cream’s consistency is key to a truly satisfying dessert. Several factors influence the final texture, starting with ensuring the freezer bowl is thoroughly frozen – a minimum of 24 hours is generally recommended. The temperature of your ice cream base also plays a crucial role; it should be well-chilled before initiating the mixing process.
Don’t overfill the bowl, adhering to the maximum fill line indicated in the manual (typically no higher than ½ inch from the top). Overfilling can strain the motor and result in a grainy texture. Mixing time is also vital; typically 20-25 minutes yields soft-serve consistency, while longer mixing times create a firmer product.
For exceptionally smooth results, consider adding a stabilizer like guar gum or cornstarch to your base. These ingredients help prevent ice crystal formation. Experiment with different fat contents in your base; higher fat content generally leads to a creamier texture. Finally, remember that homemade ice cream tends to harden more than store-bought varieties, so allow it to soften slightly before serving.
Storing Homemade Ice Cream
Proper storage is essential to maintain the quality and texture of your freshly made ice cream. Homemade ice cream, lacking the stabilizers found in commercial brands, is prone to ice crystal formation during prolonged freezing. Therefore, immediate transfer to an airtight container is crucial. Plastic containers specifically designed for freezer storage, or shallow containers to minimize air exposure, are ideal.
Press a sheet of plastic wrap directly onto the surface of the ice cream before sealing the container; this helps prevent ice crystals. Store in the coldest part of your freezer, ideally towards the back. While homemade ice cream is best enjoyed within a week or two, it can last longer – up to a month – if stored correctly.
Be aware that homemade ice cream will become very firm upon extended freezing. Allow it to sit at room temperature for 5-10 minutes before scooping to restore a more desirable, scoopable consistency. Avoid repeated thawing and refreezing, as this significantly degrades the texture.
Using Your Own Recipes
Feel free to explore your culinary creativity with your own ice cream recipes! However, successful results depend on careful formulation. Ensure your recipe yields 2 quarts or less, as exceeding this volume can strain the motor and affect freezing. The base mixture should have a relatively high fat content – typically from cream – for optimal texture.
Sugar content is also critical; it not only contributes to sweetness but also lowers the freezing point. Experiment with different flavors, but avoid adding chunky ingredients (like large fruit pieces or cookies) directly into the machine; these can damage it. Instead, fold them in after the ice cream has thickened.
Always chill your base thoroughly – ideally overnight – before churning. This ensures faster and more consistent freezing. Remember that recipes designed for traditional ice cream makers may require slight adjustments for the Cuisinart model.